Resistance is futile
I've been a fan of the Borg since I was a kid. I think one of the first websites I ever built was a geocities fan site cobbled together using Borg Claw artwork from Star Trek: The Next Generation.
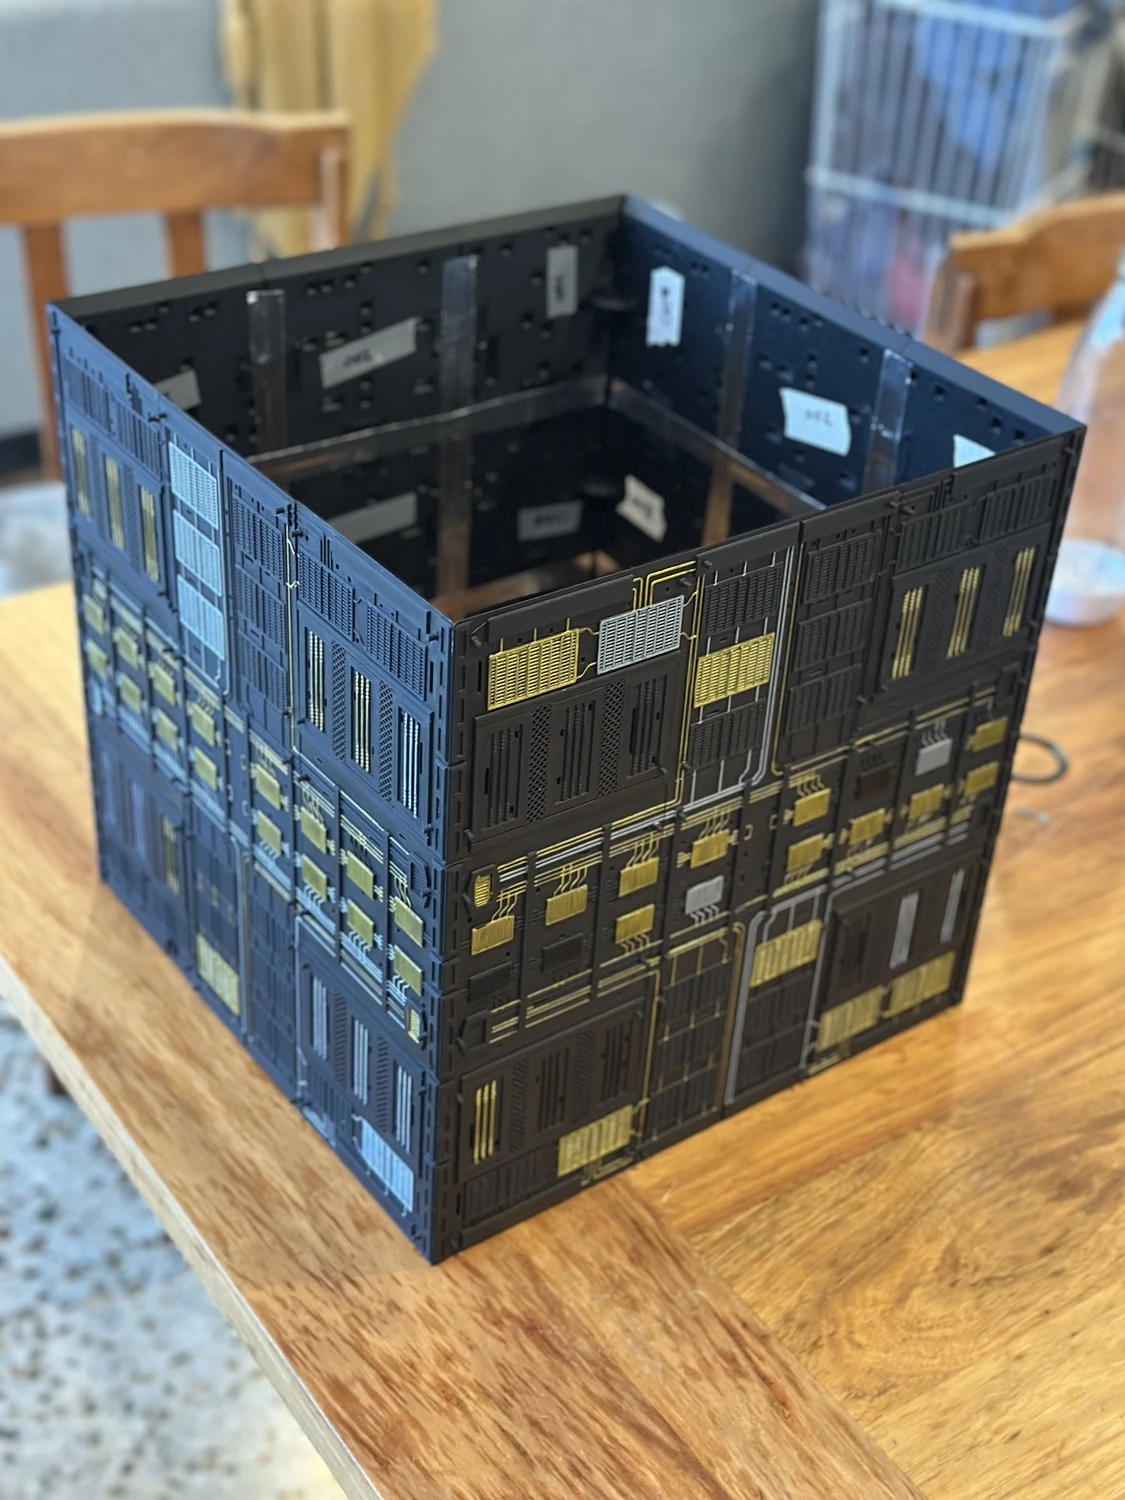
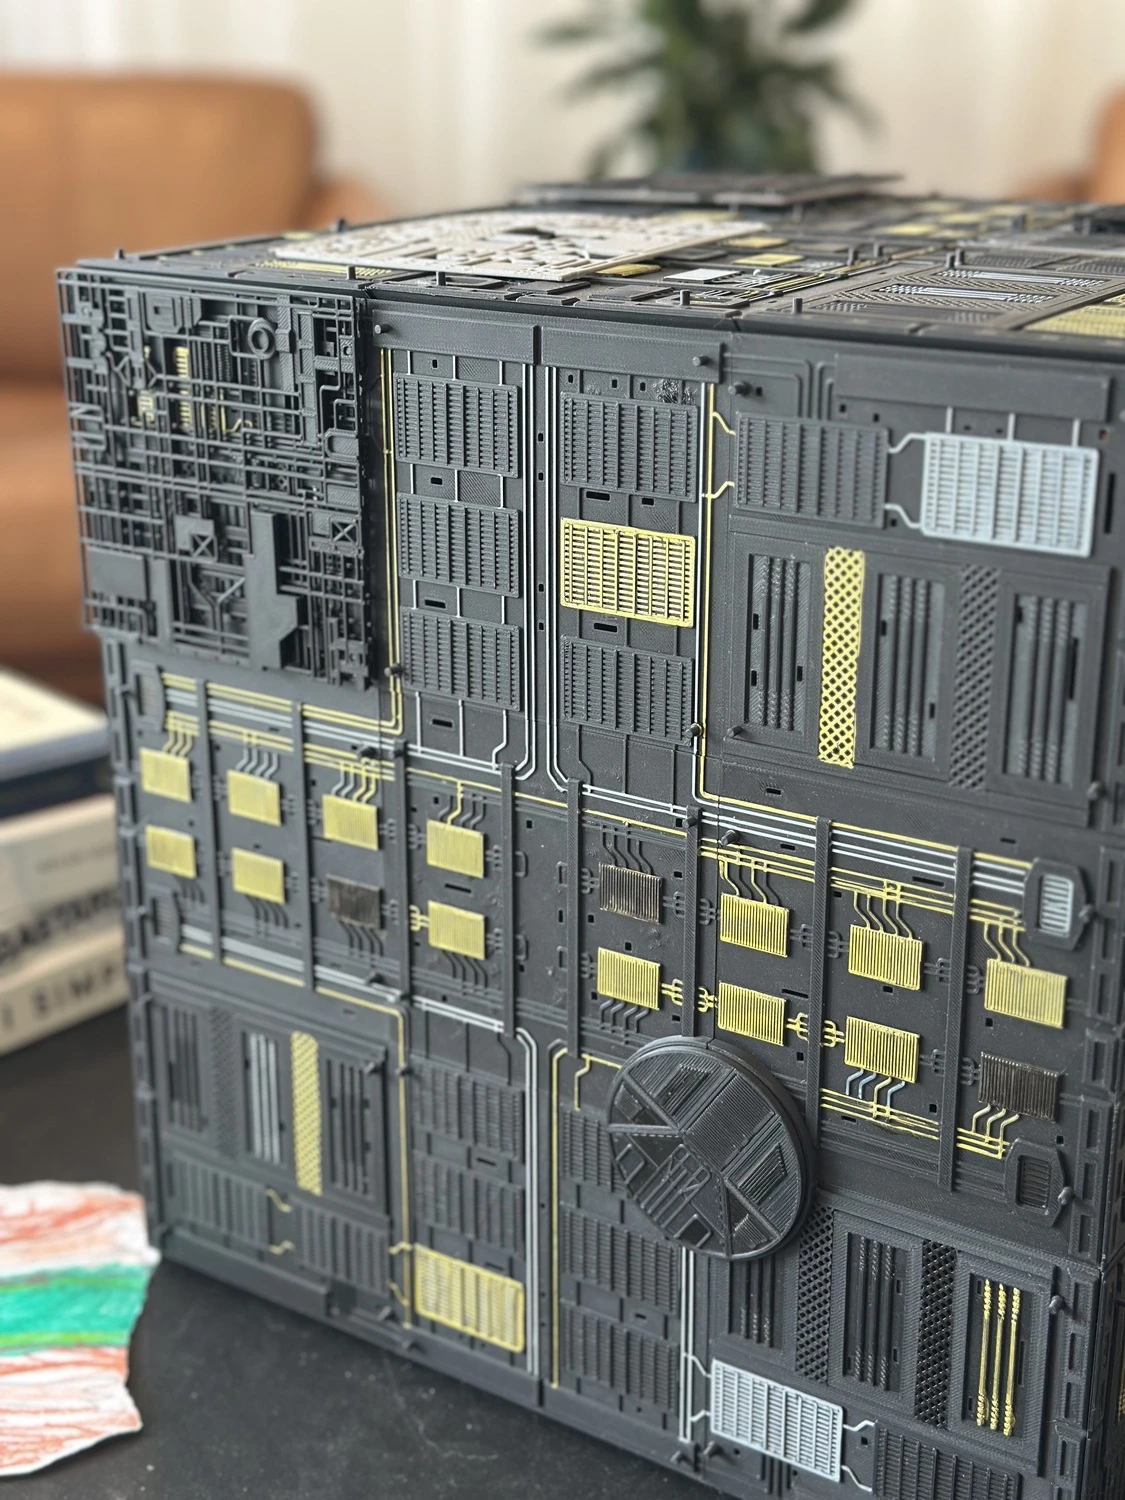
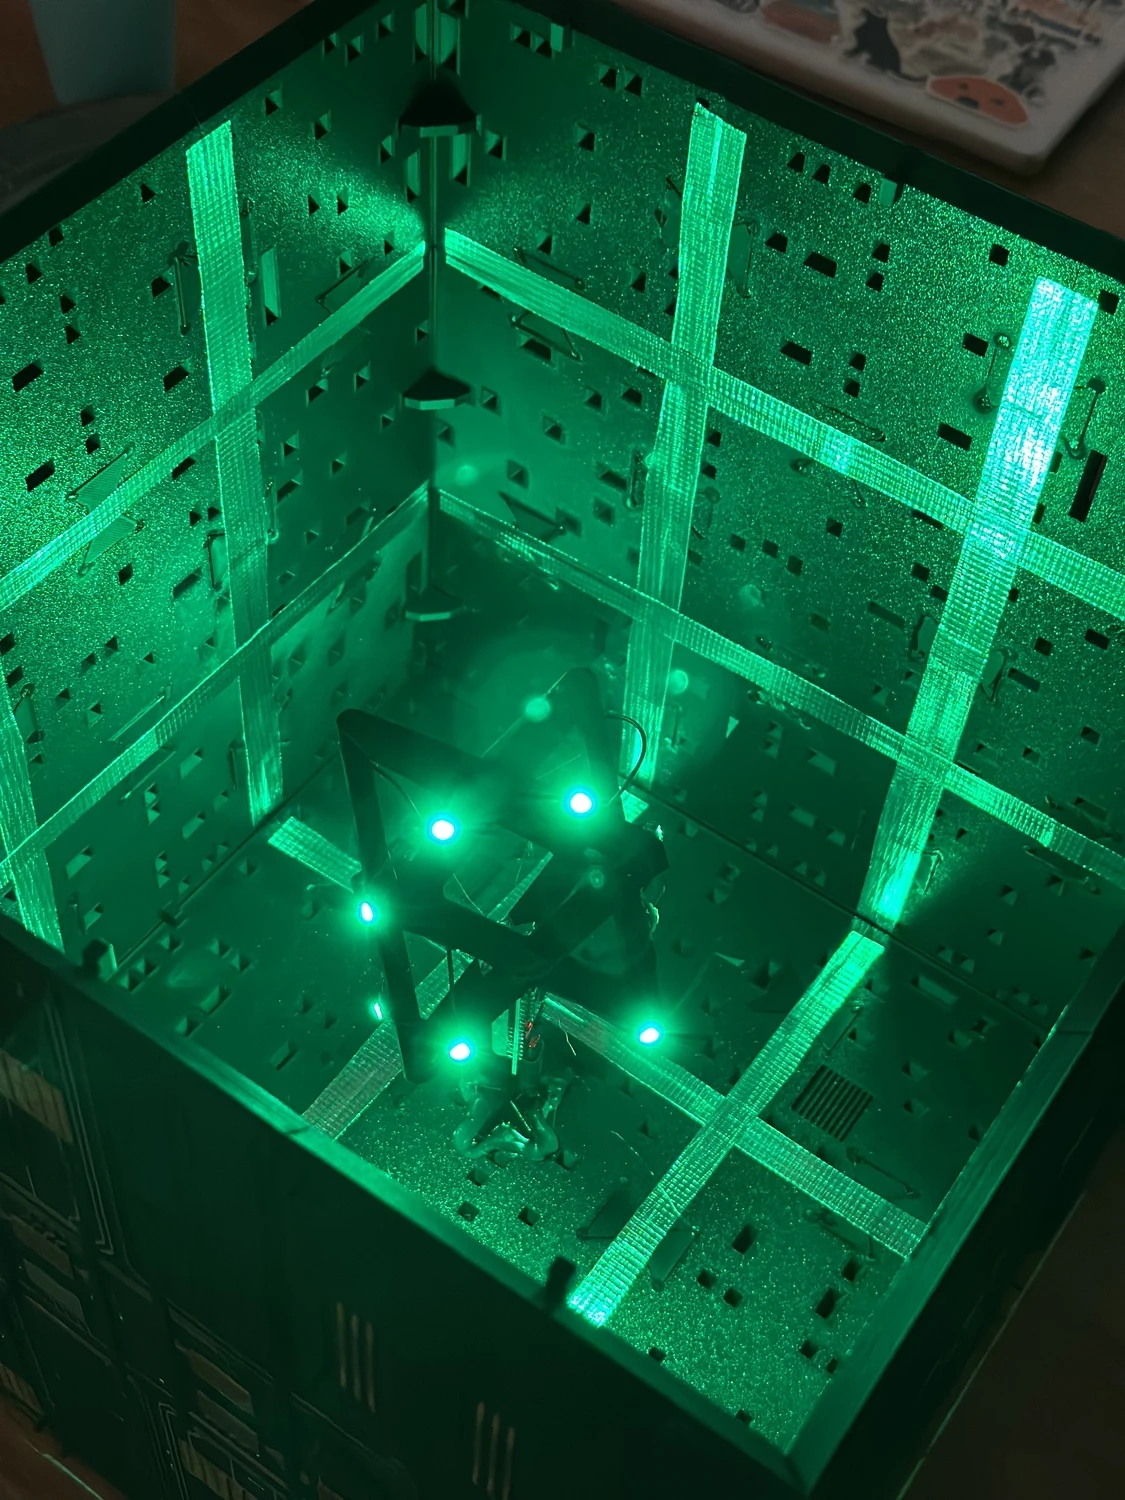
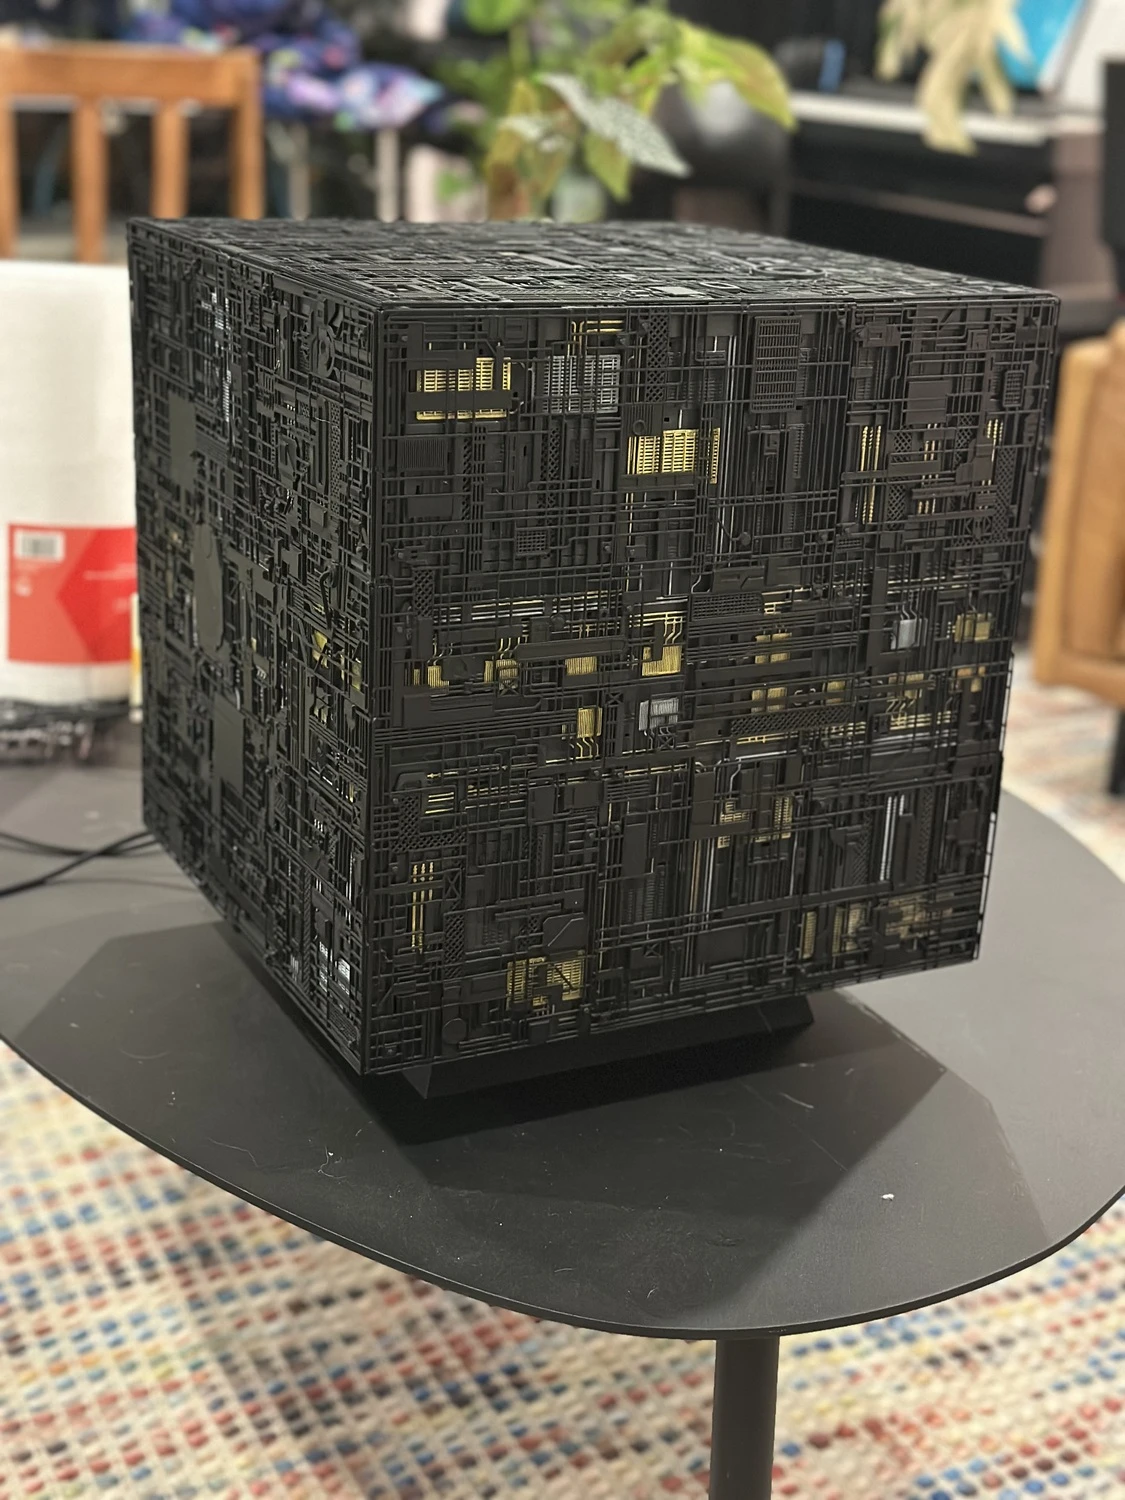
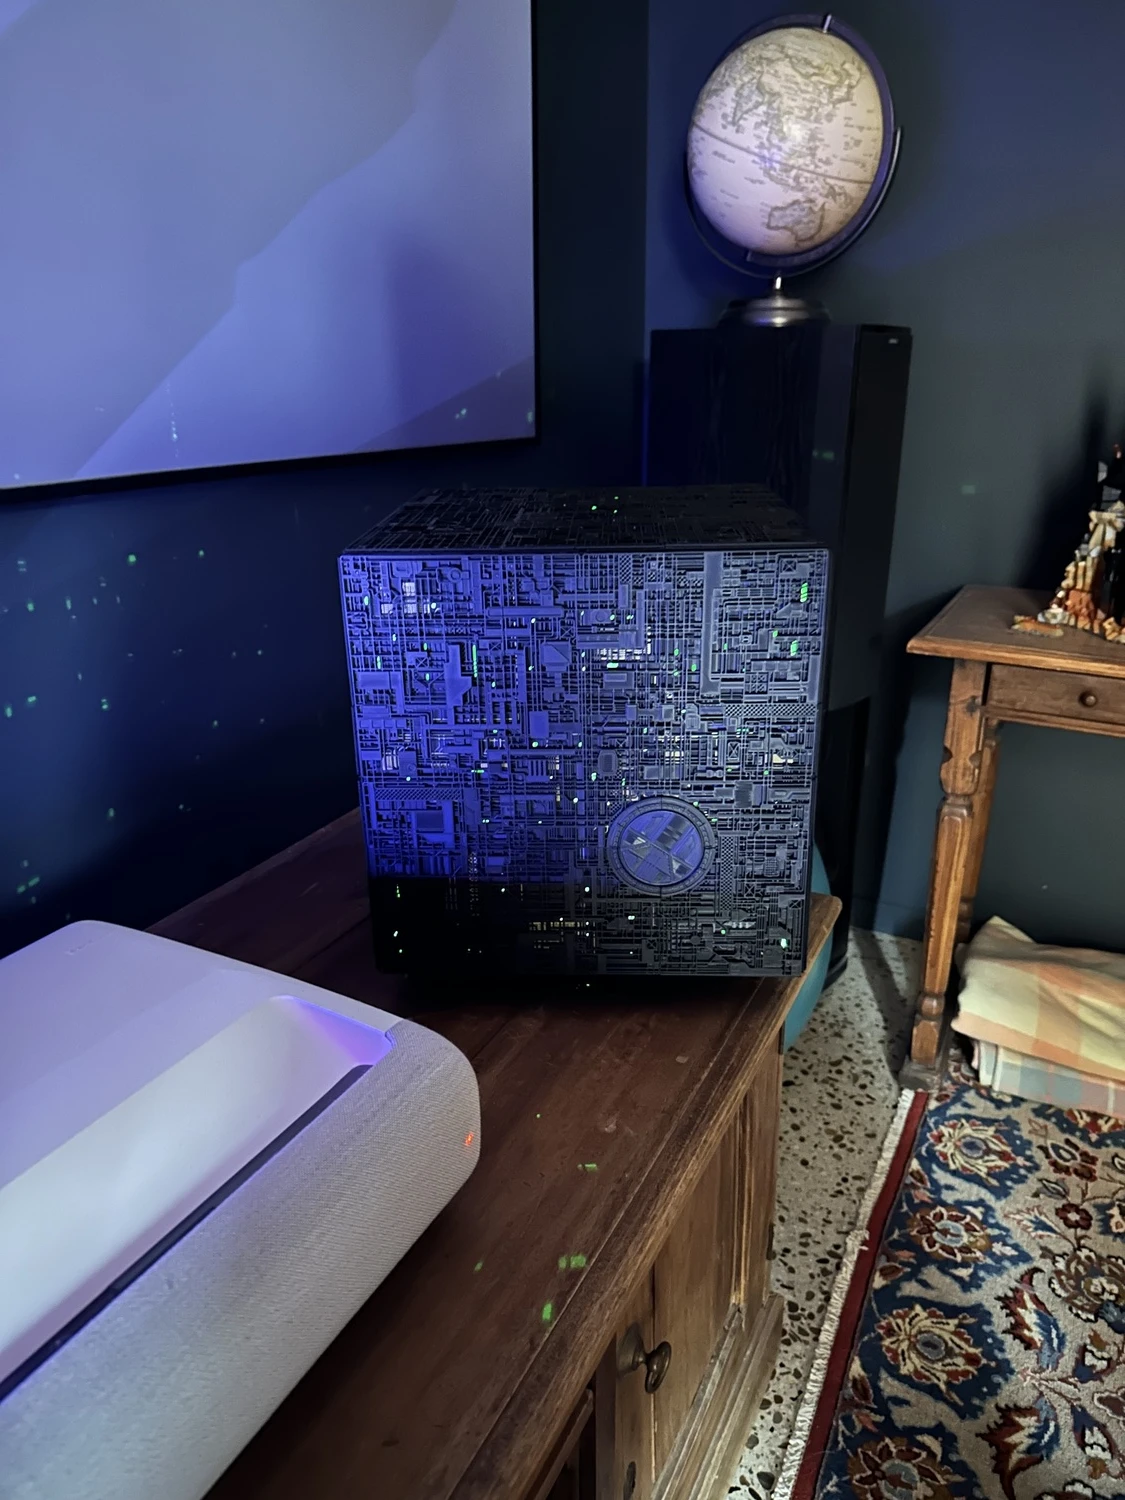
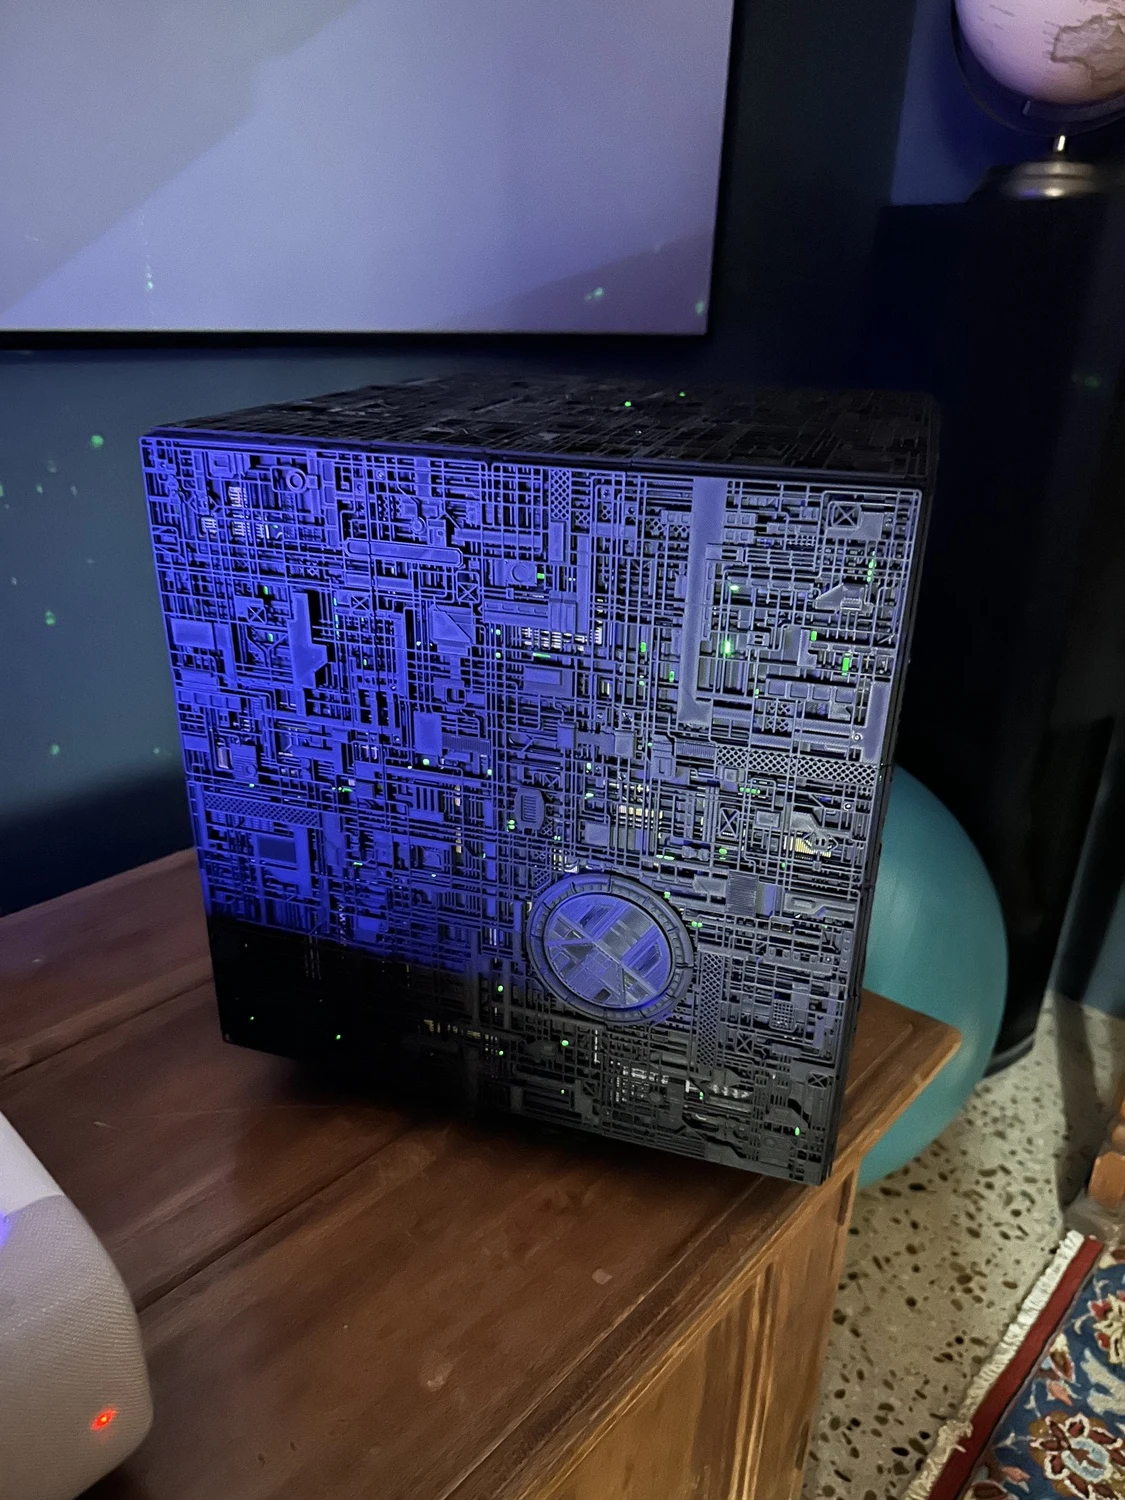
So when I saw Gambody’s Borg cube model, I knew it was time to get a 3d printer. A Bambu labs X2D and about 5 rolls of matt black filament later, I had printed my very own Borg Cube, complete with interior lights (thanks to Brian).
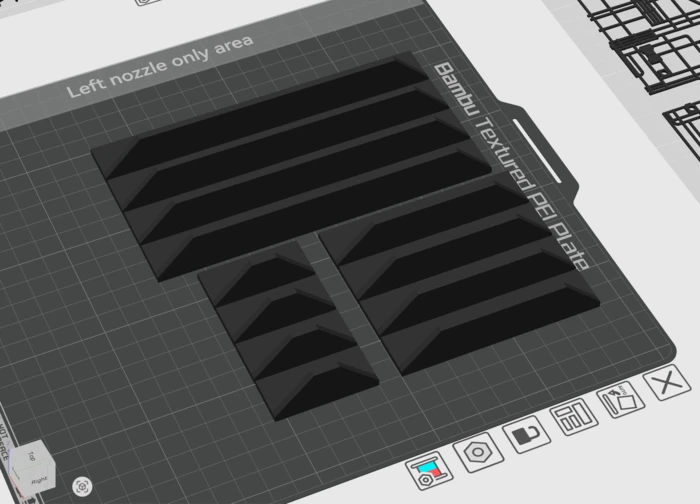
It took about 500 hours to print and I’d strongly recommend it as a first 3d printing project if you’re dedicated, even though the plans say it’s an “expert” level model. In reality it’s quite simple, just takes a lot of printing time with so many pieces to be printed. All up it probably cost about $200AUD to print including the plans.
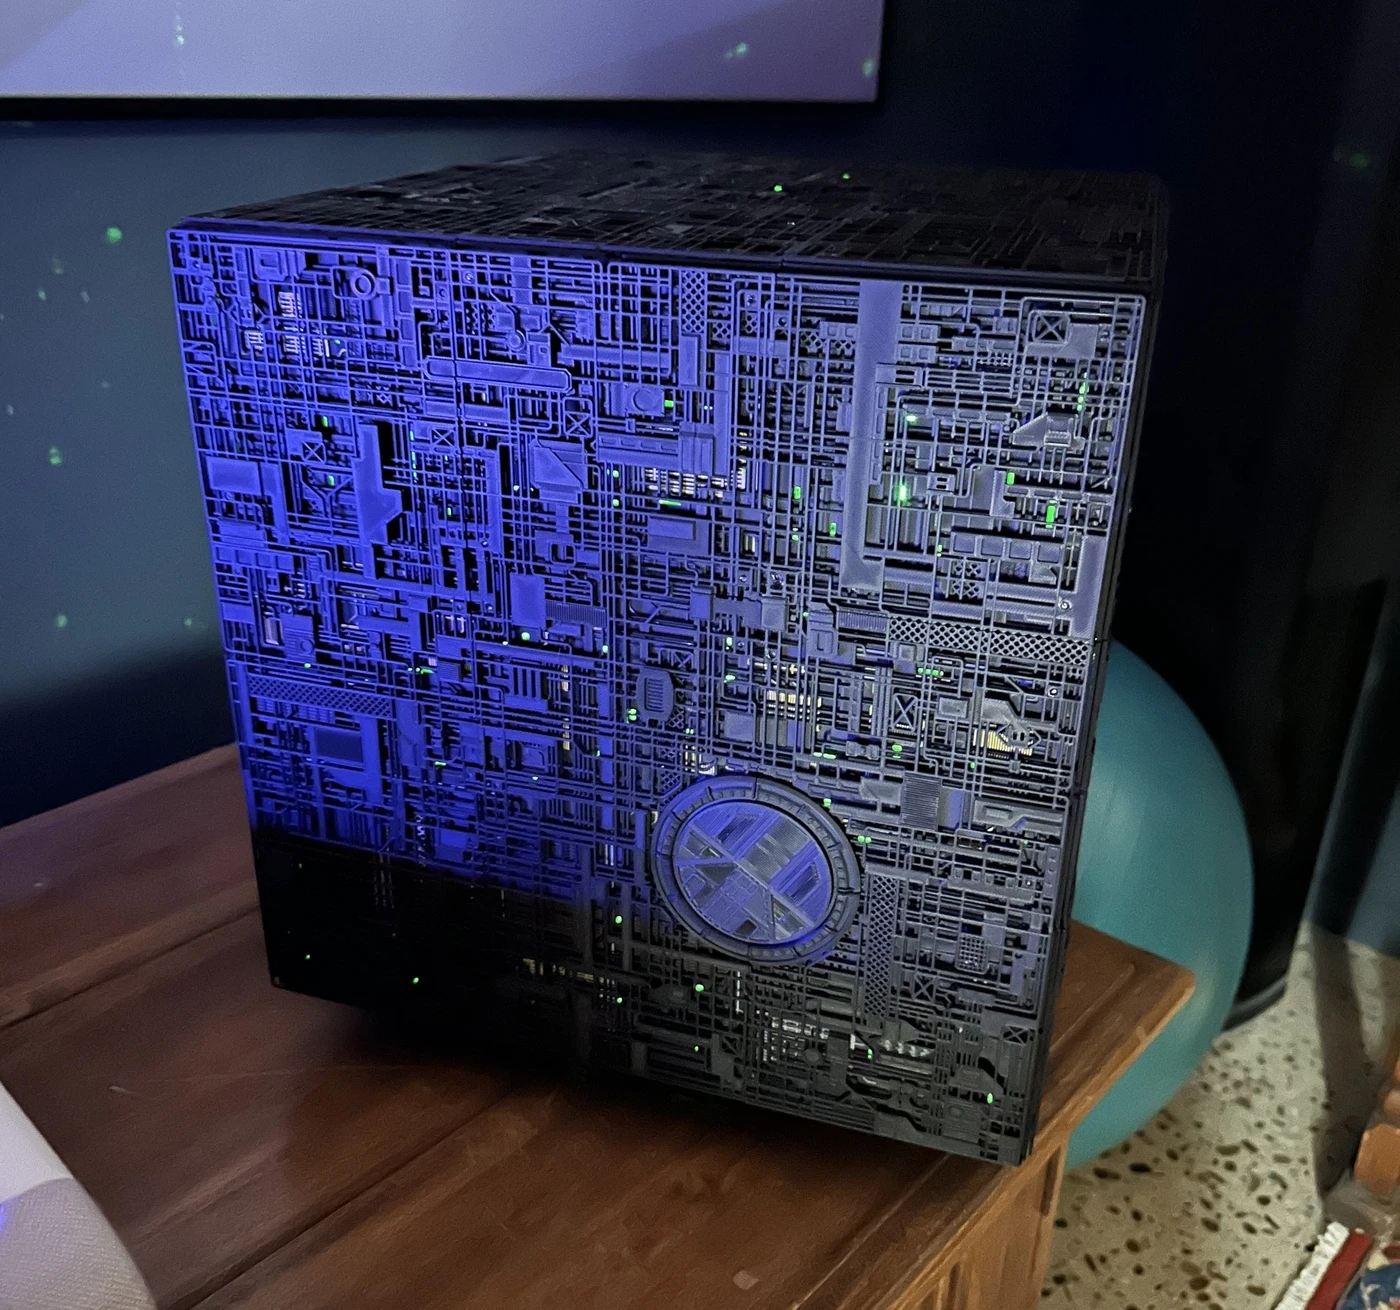
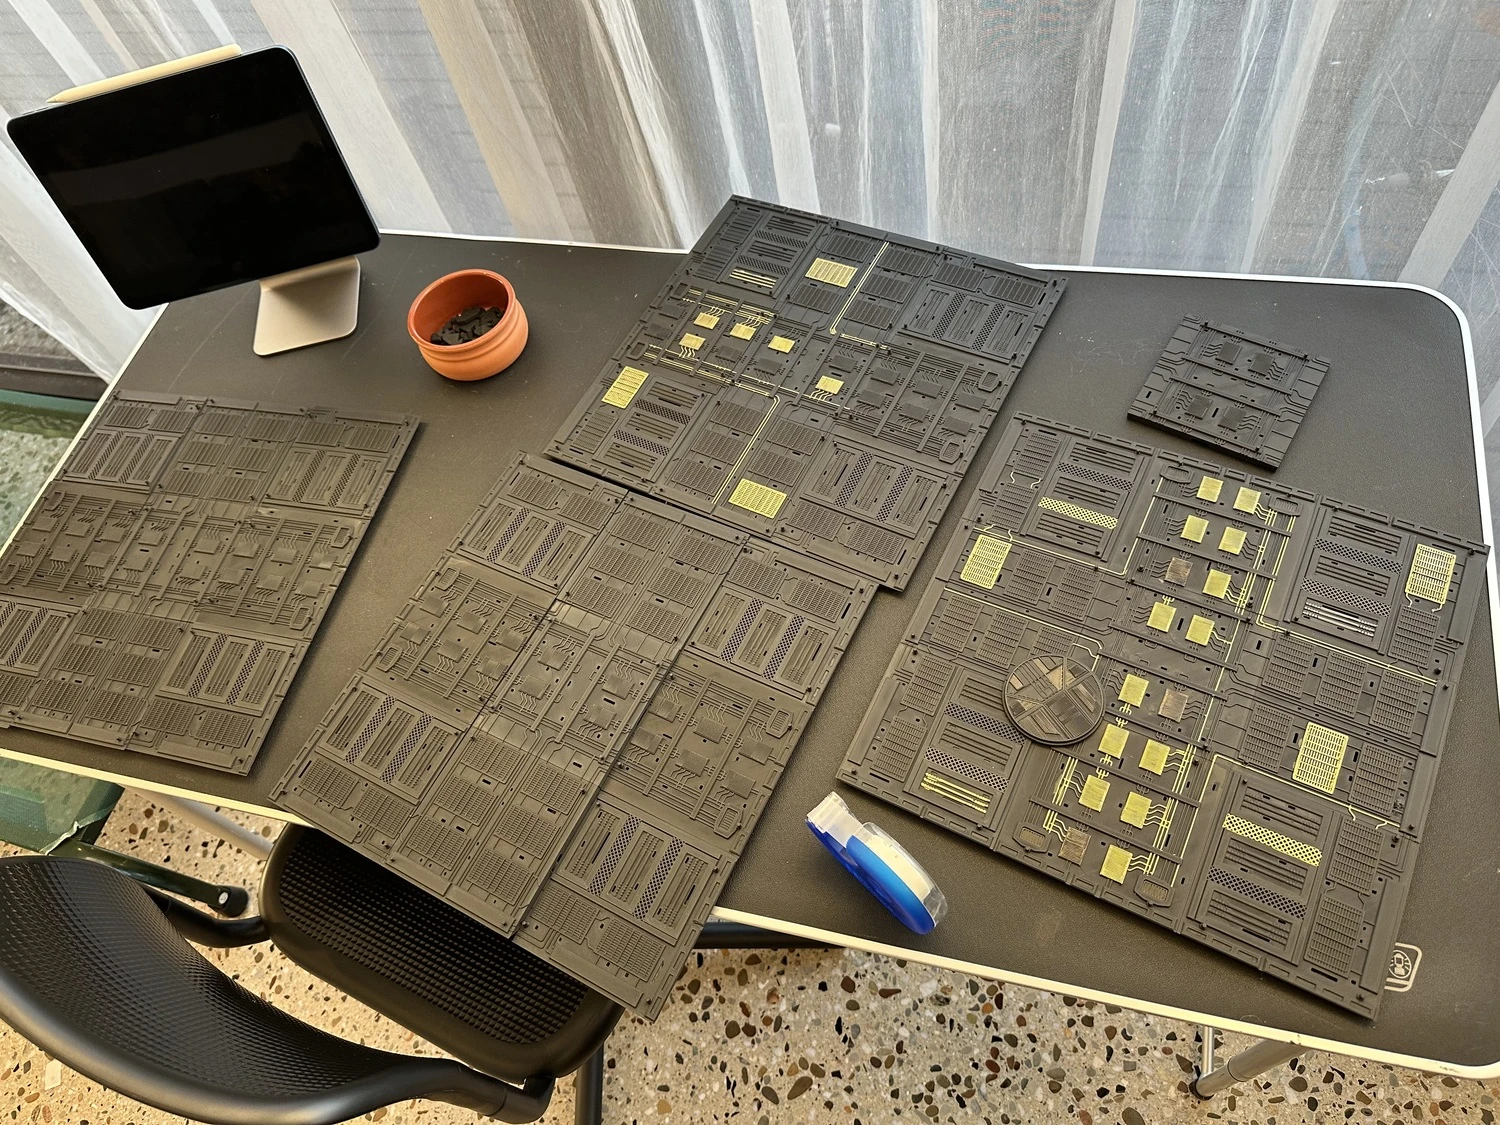
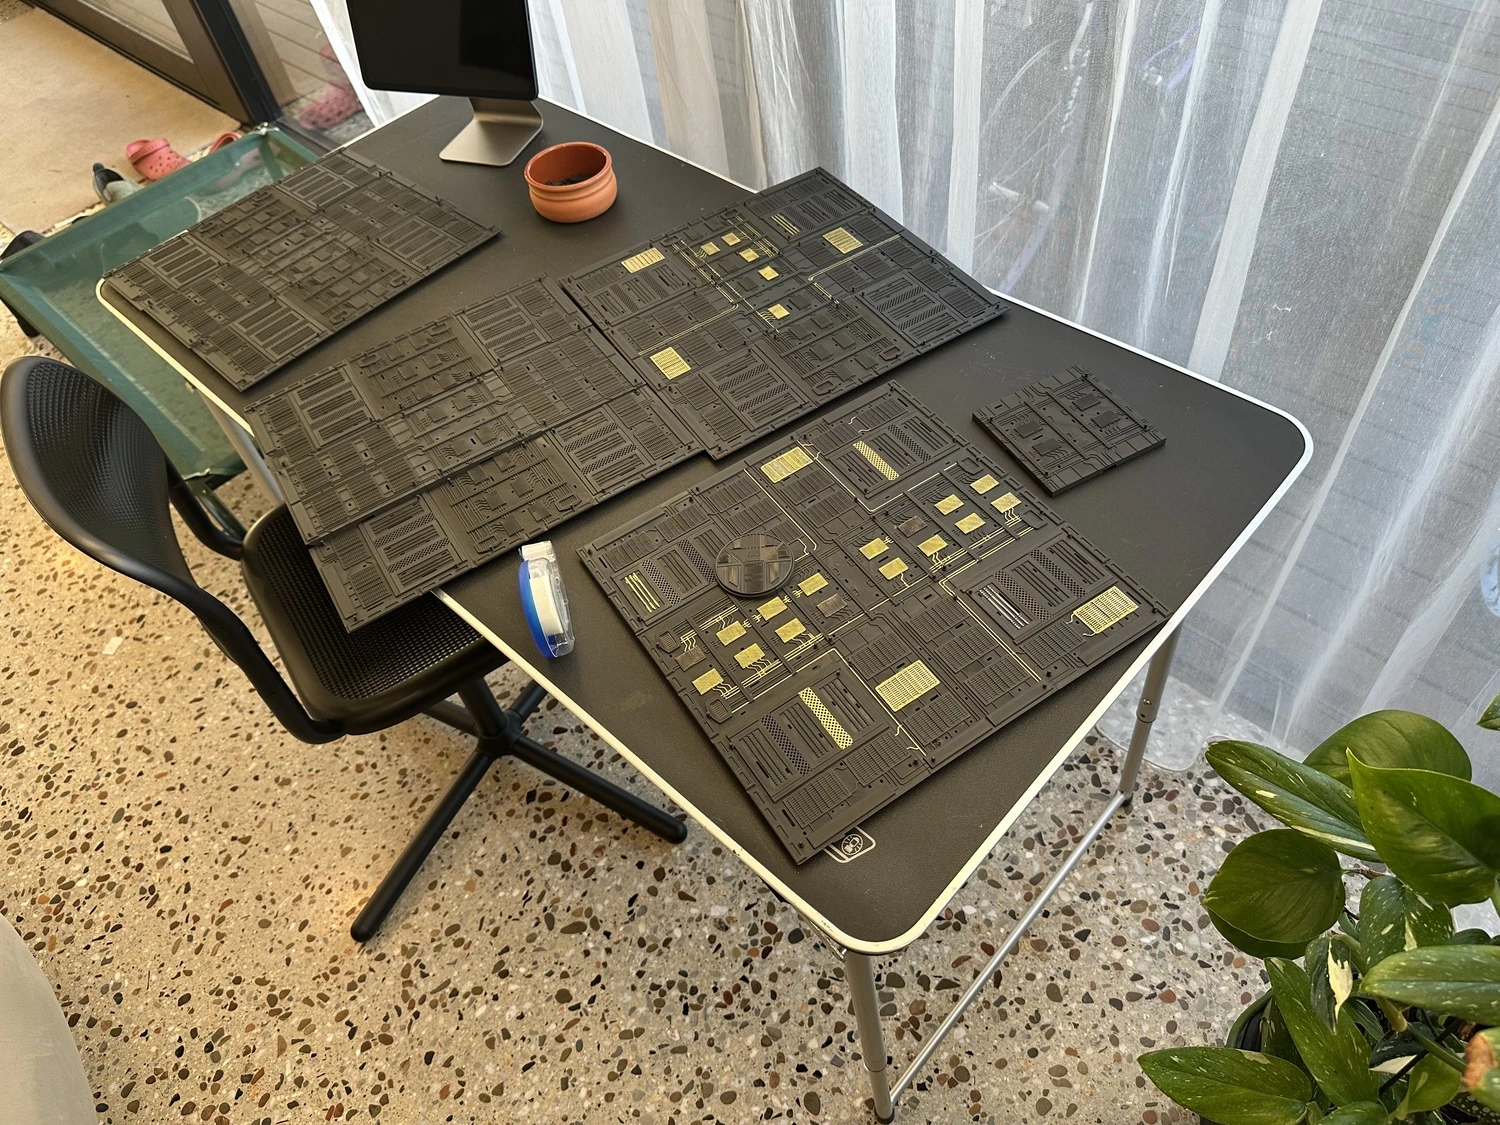
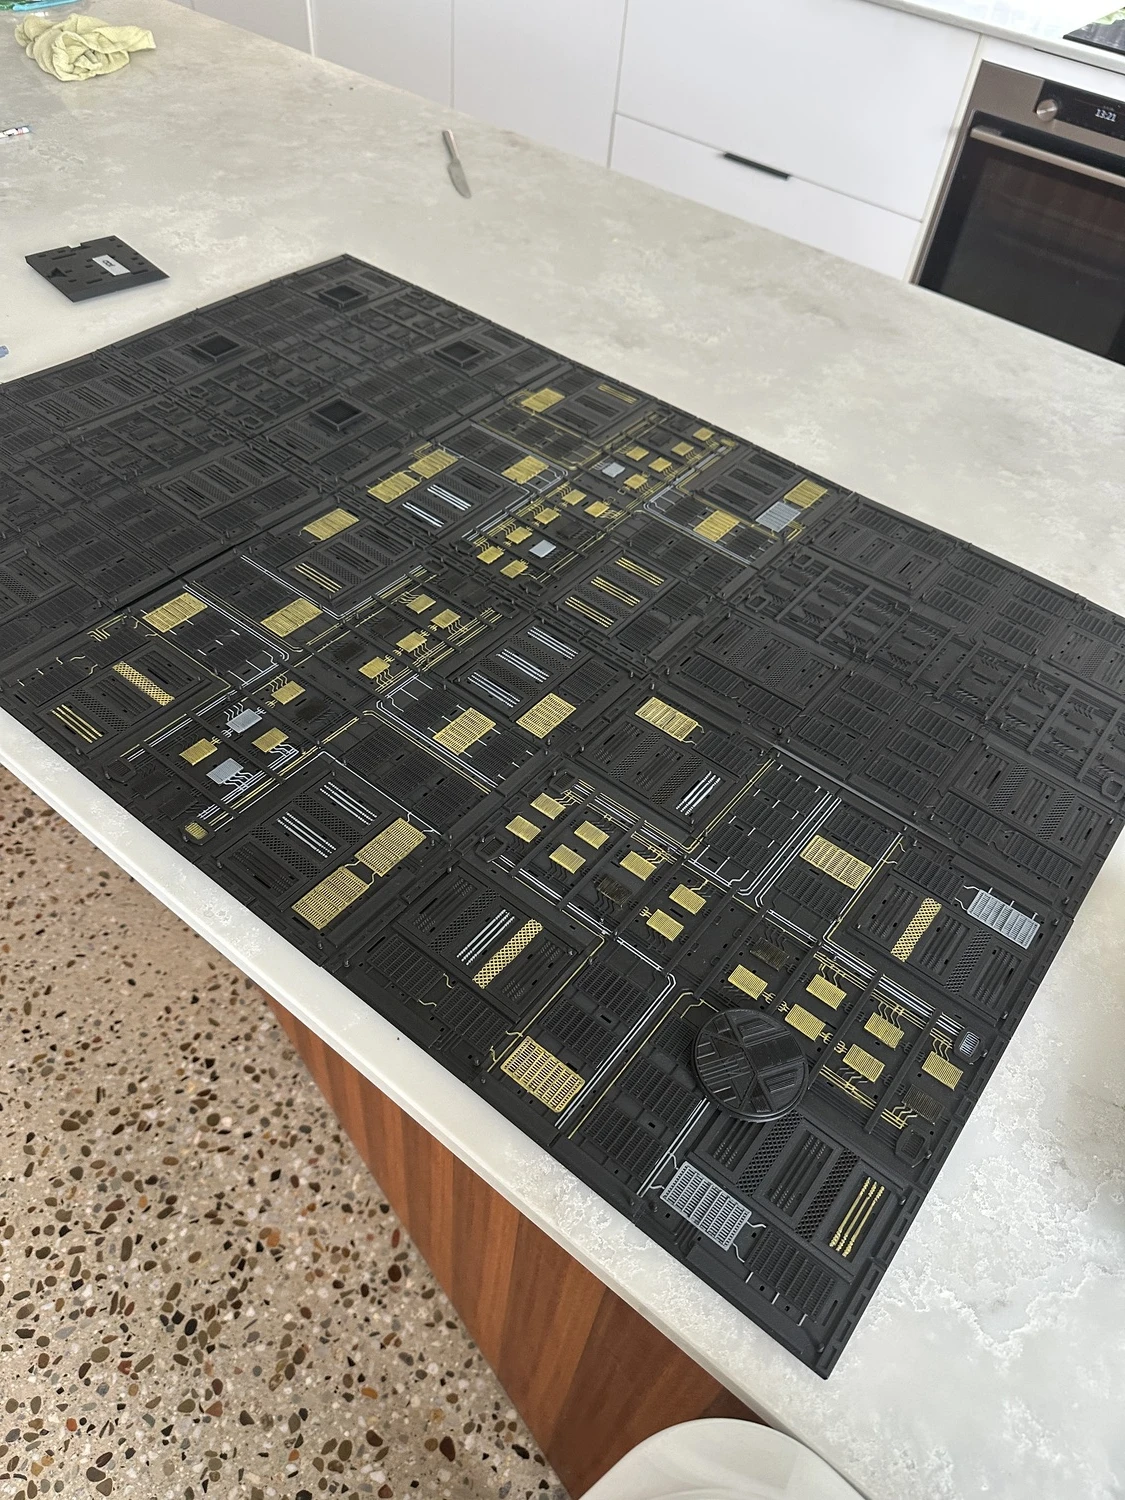
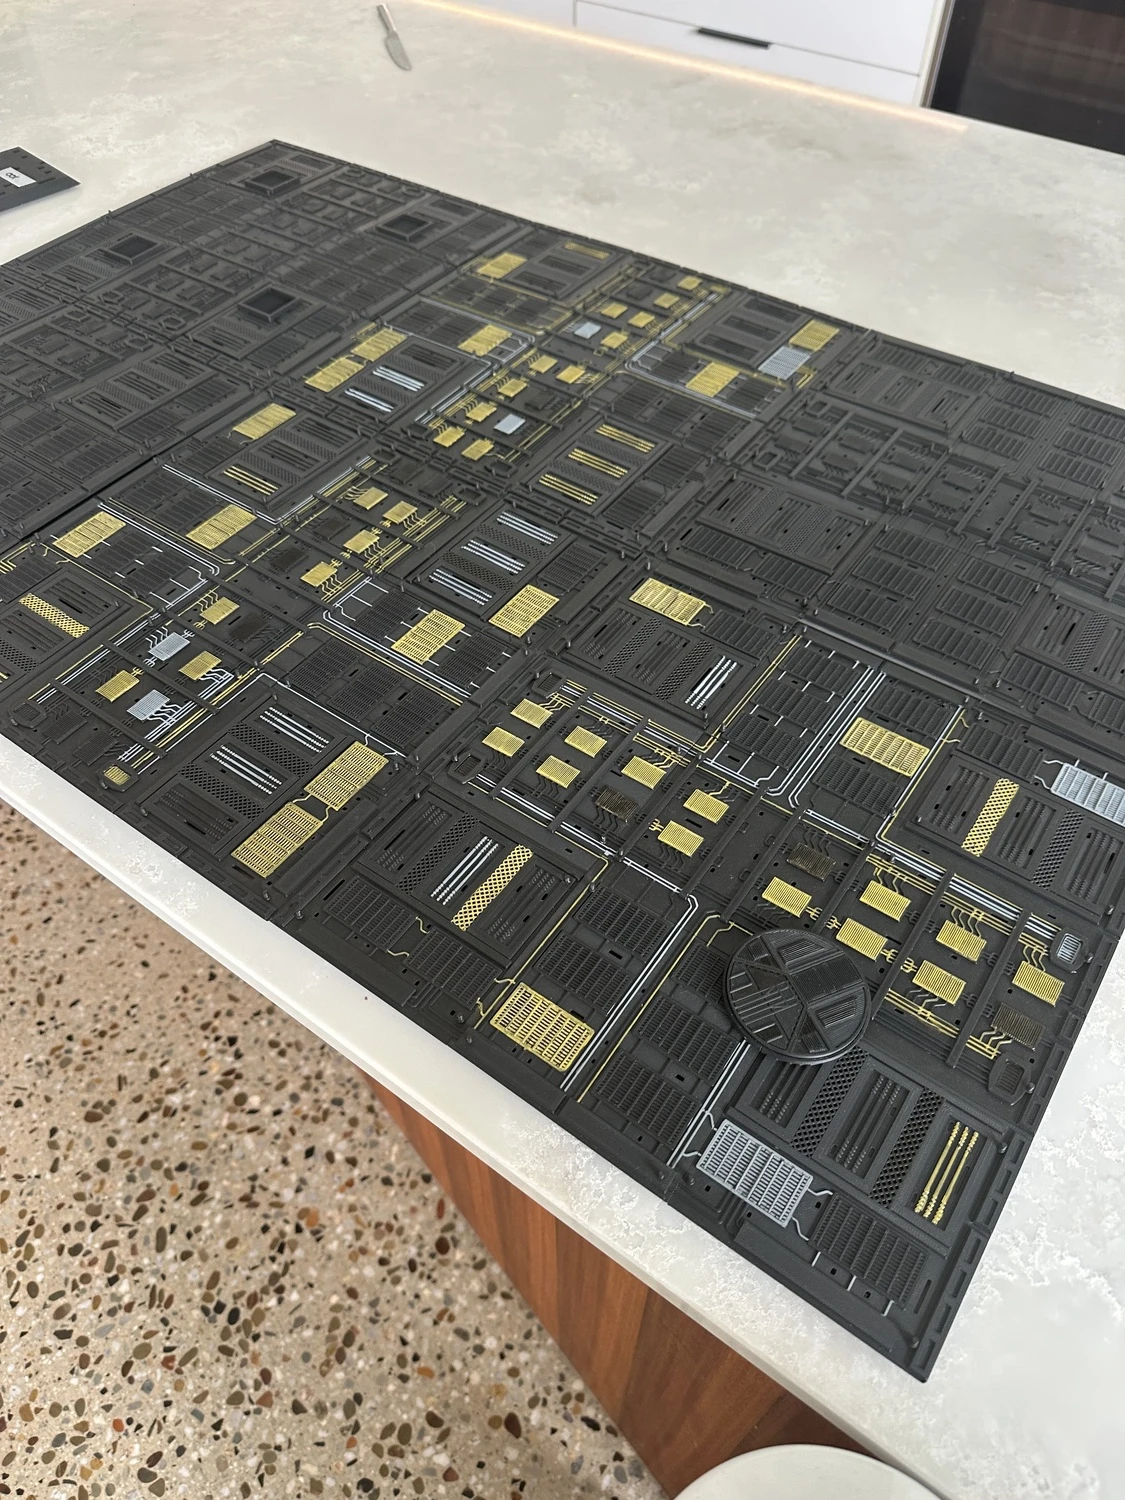
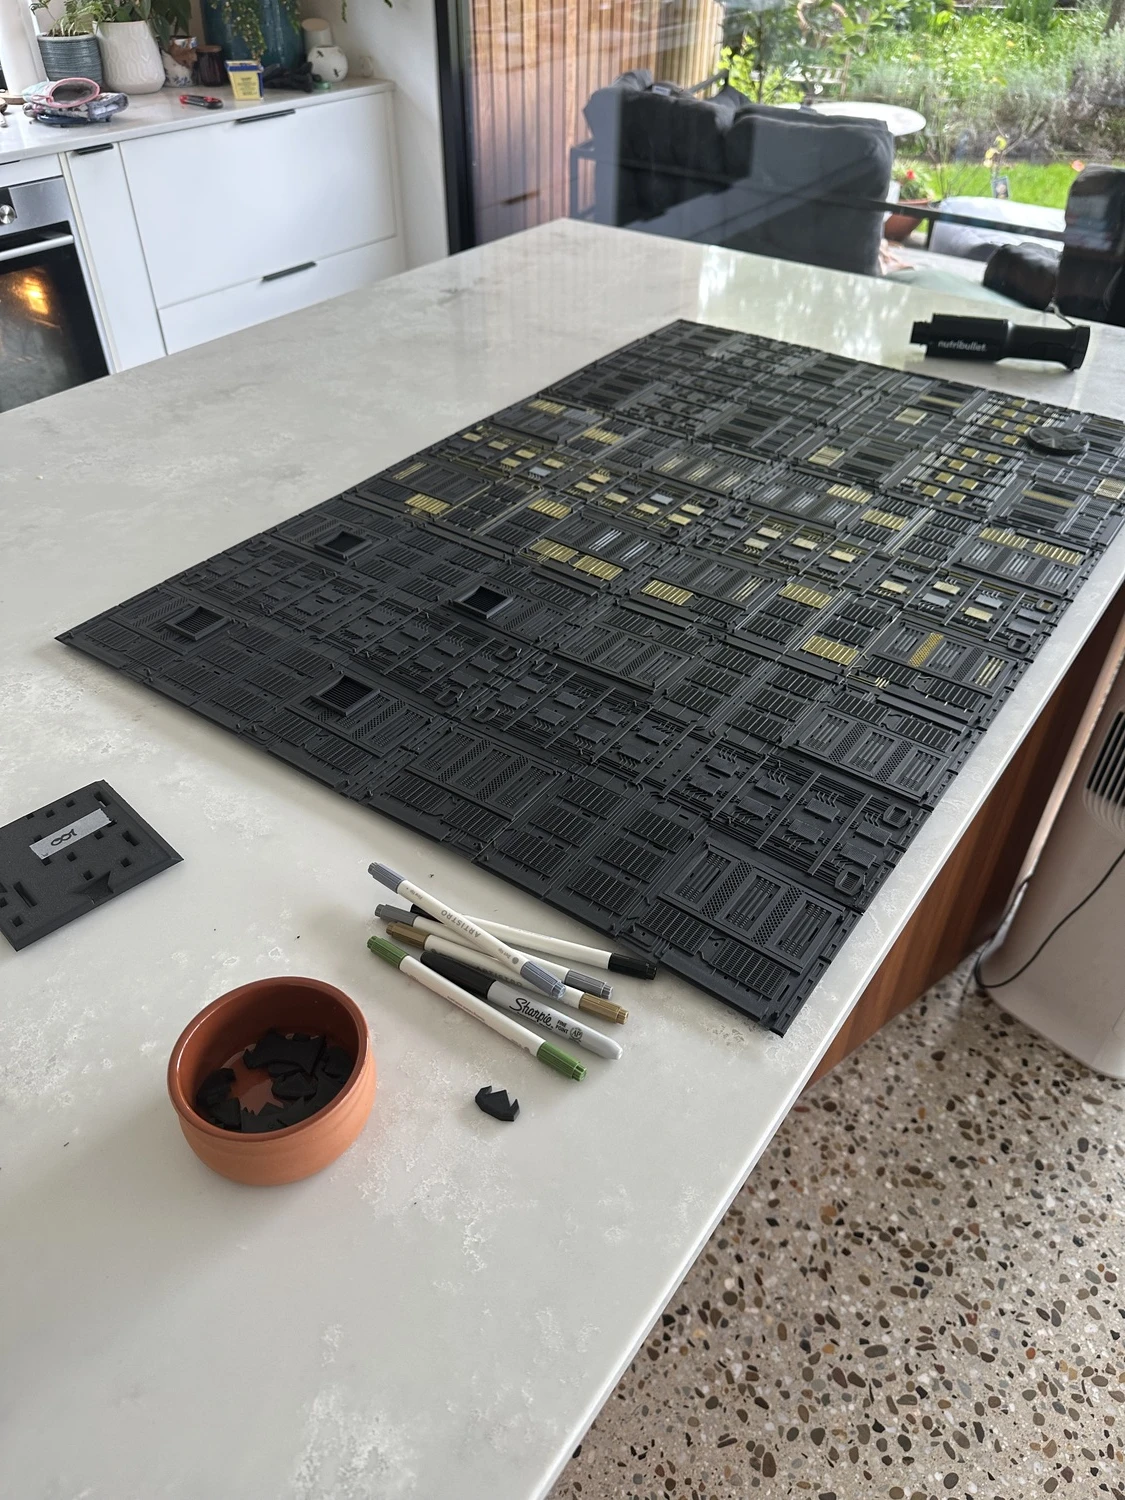
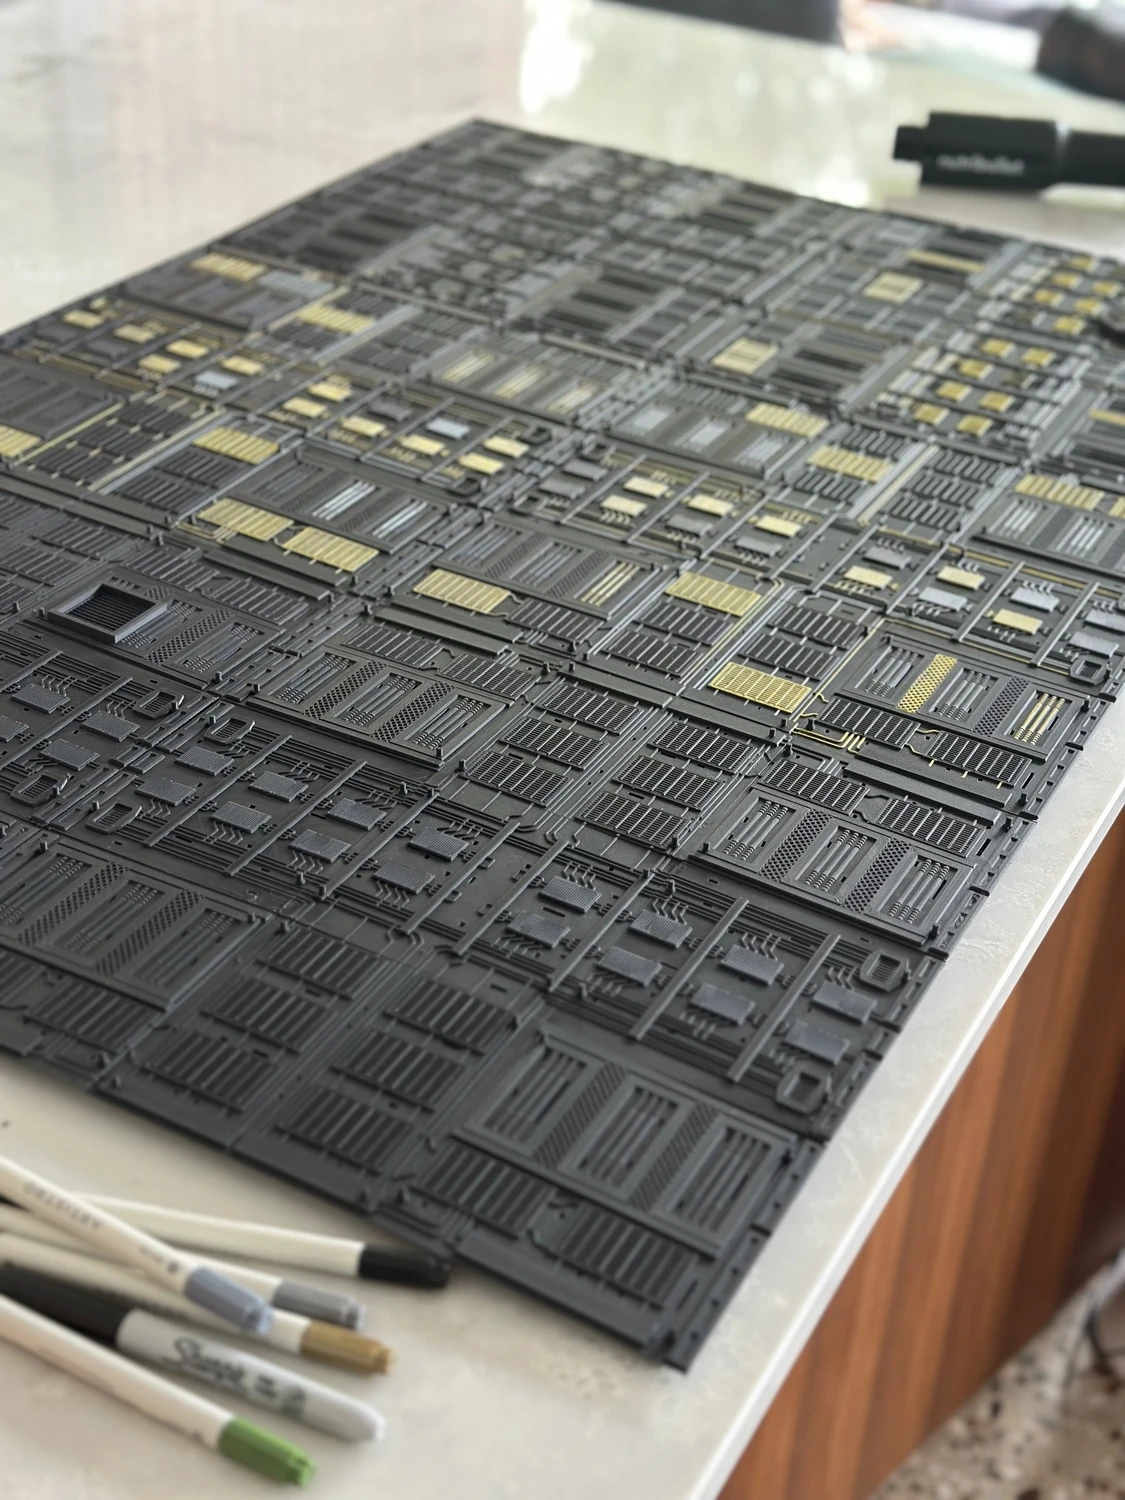
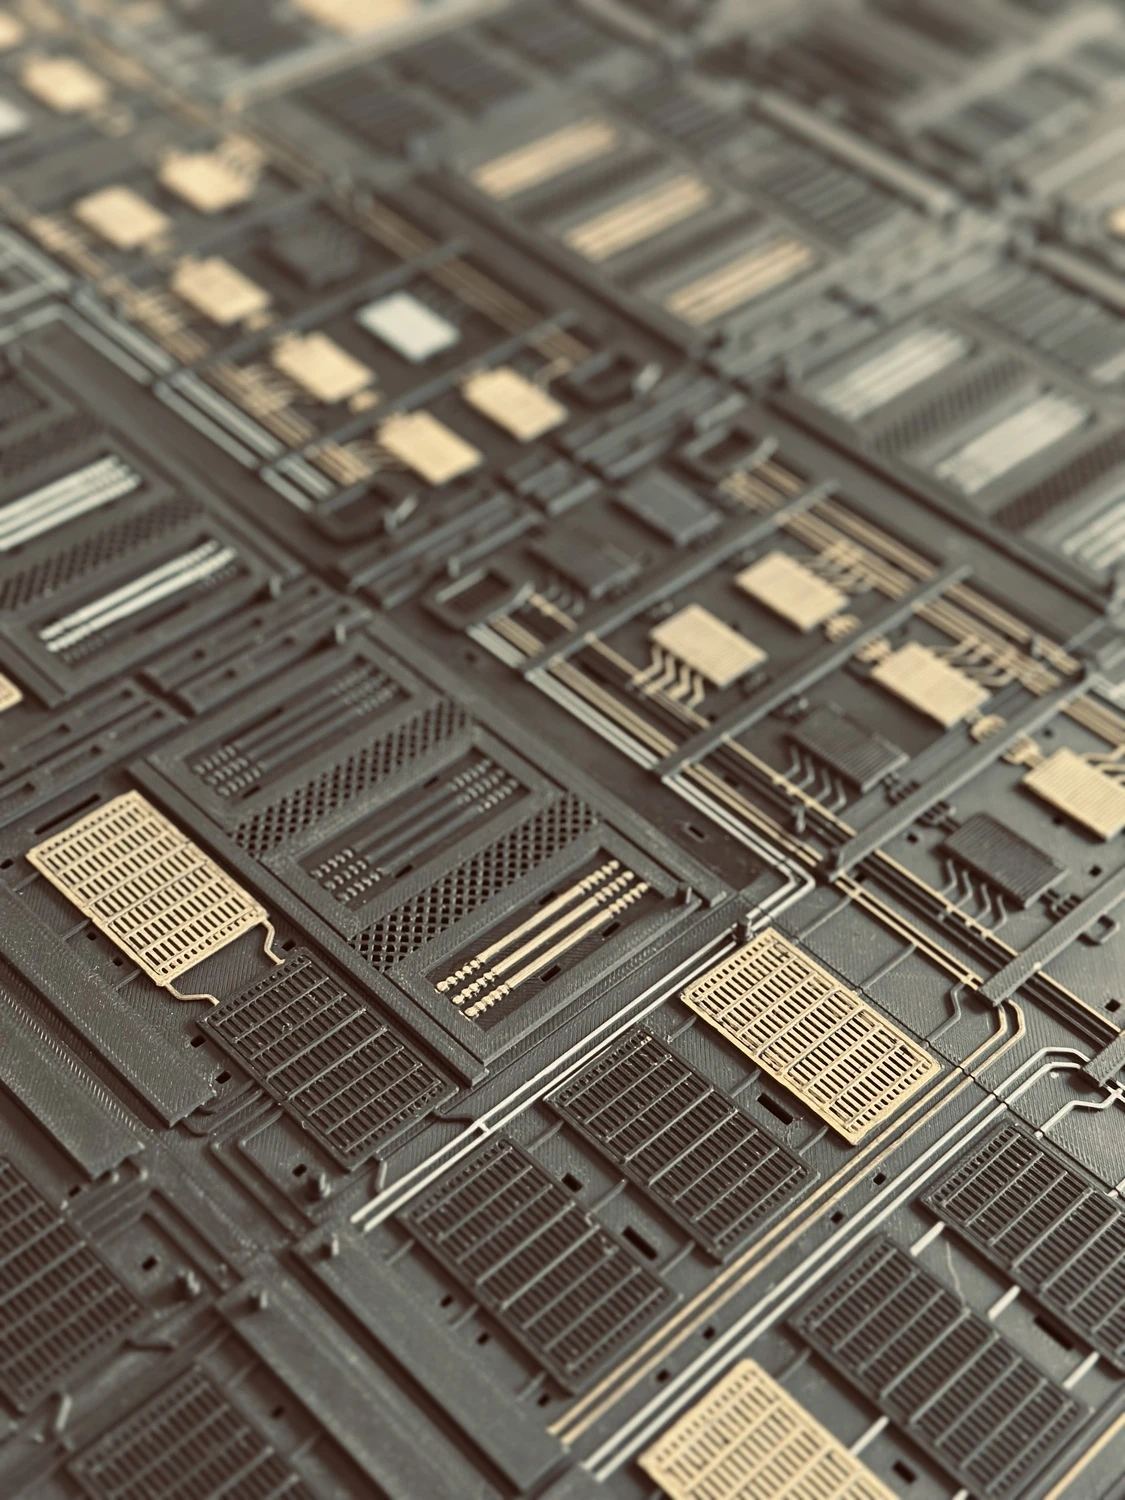
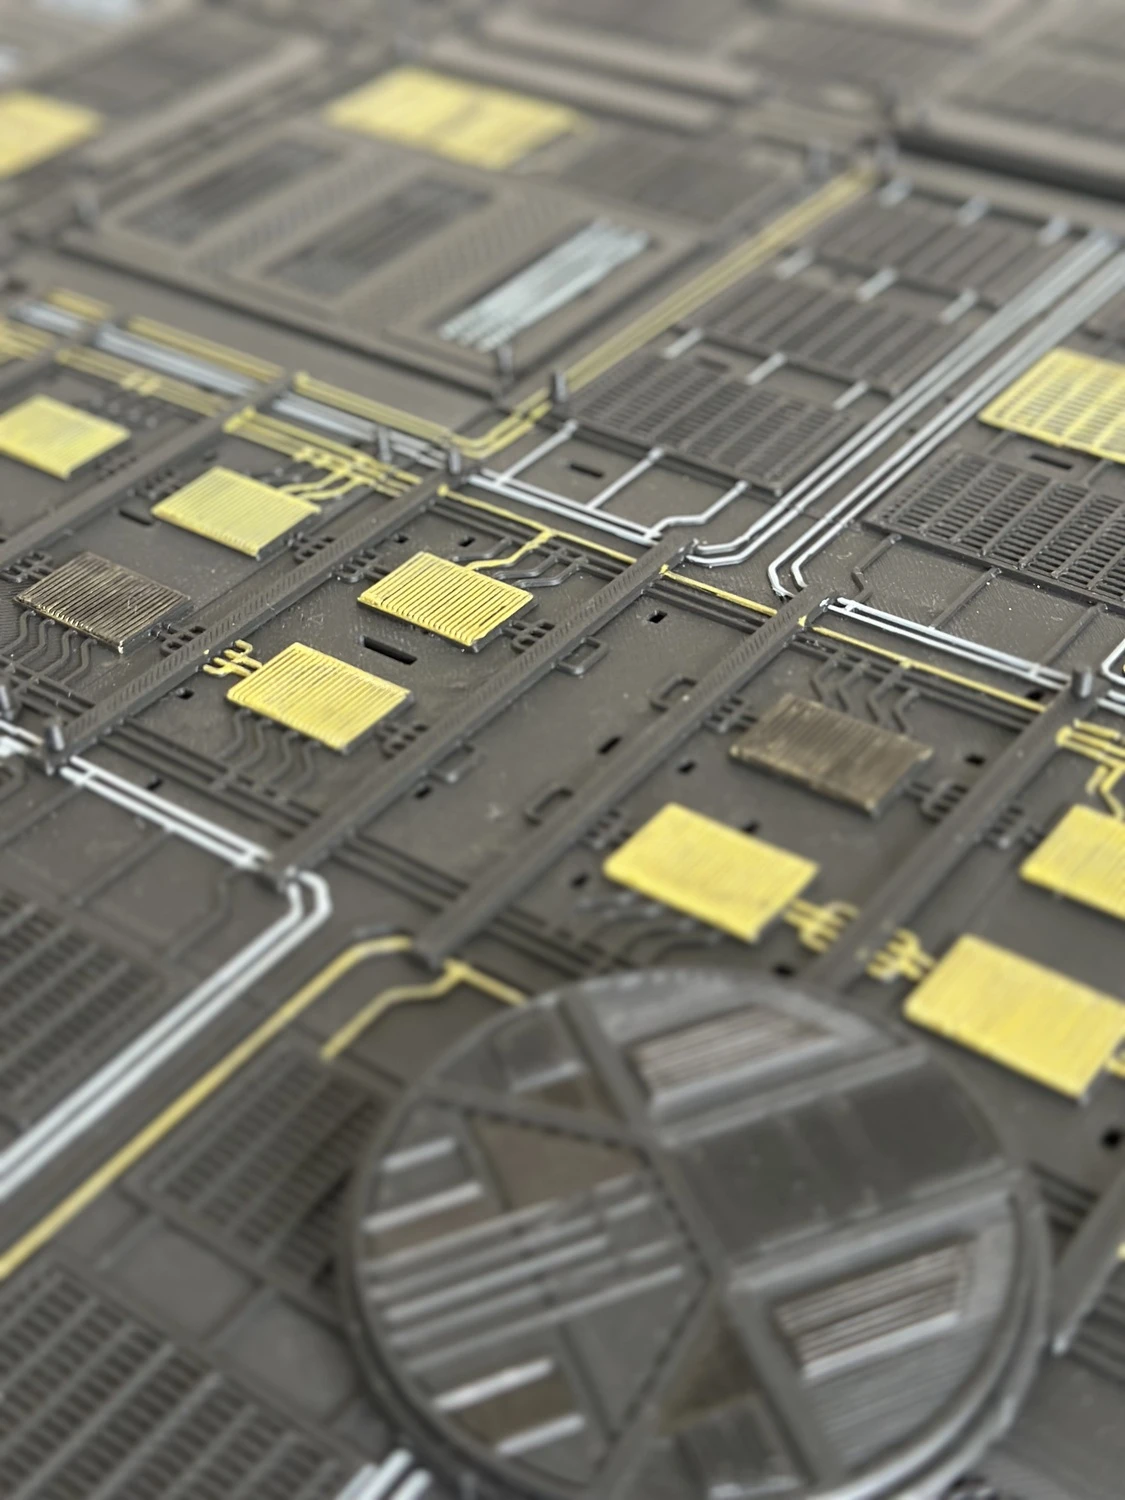
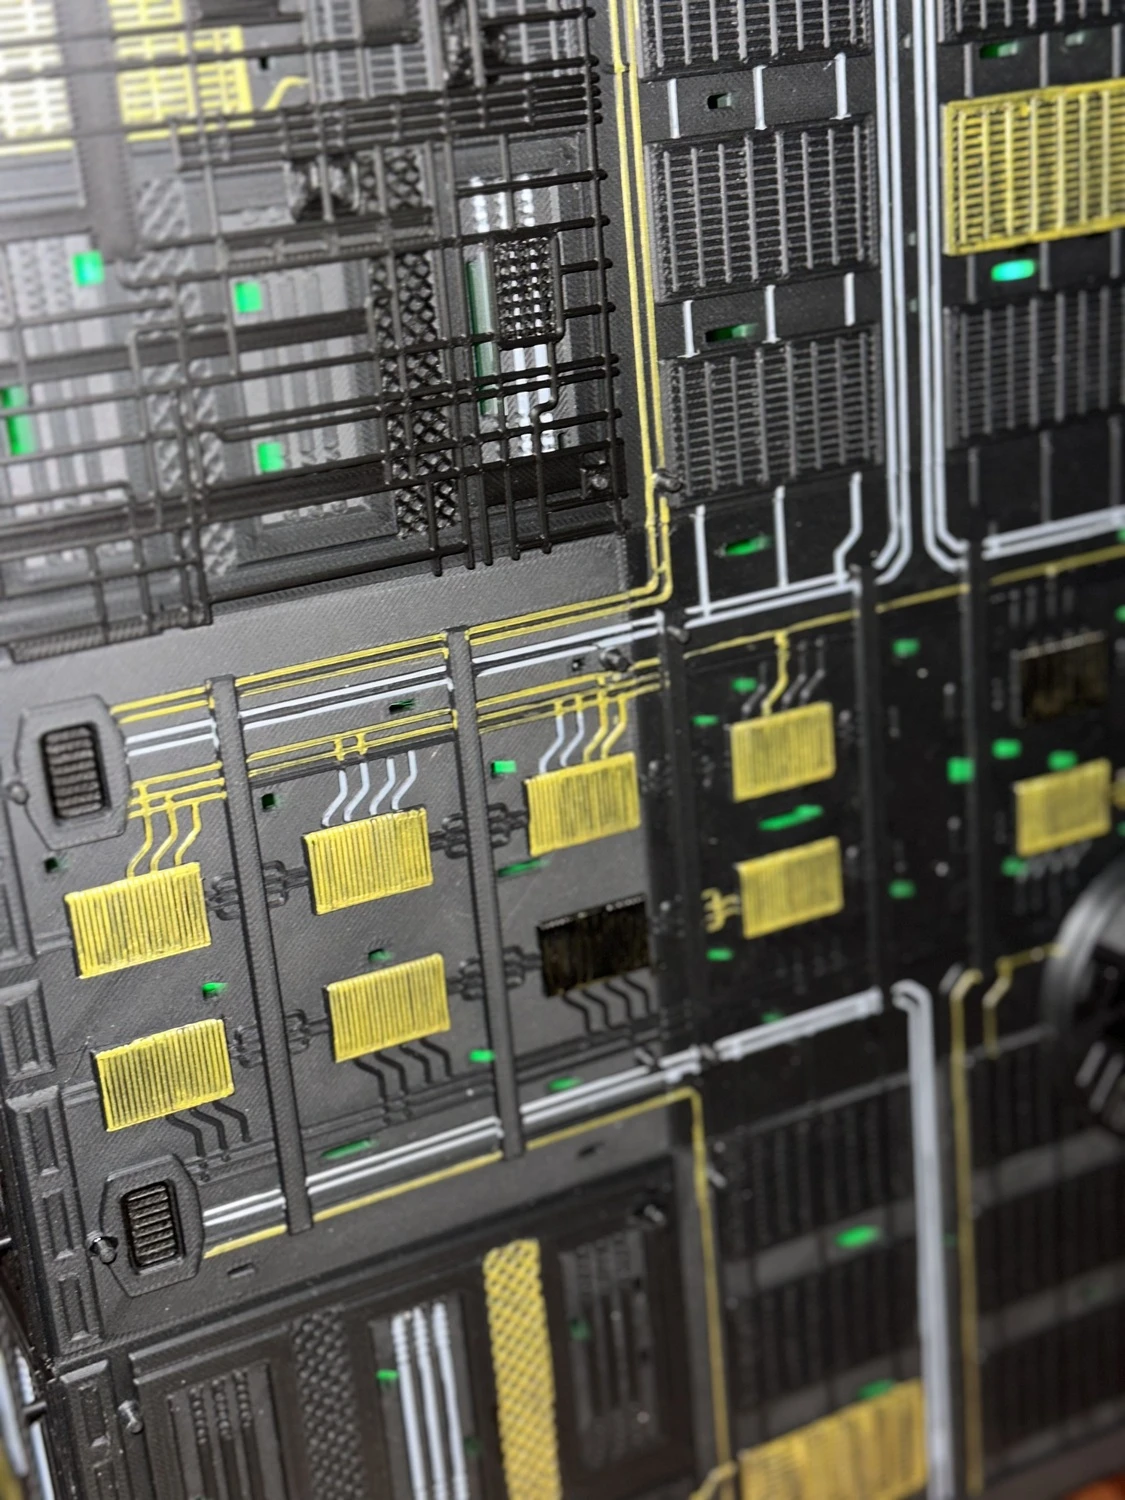
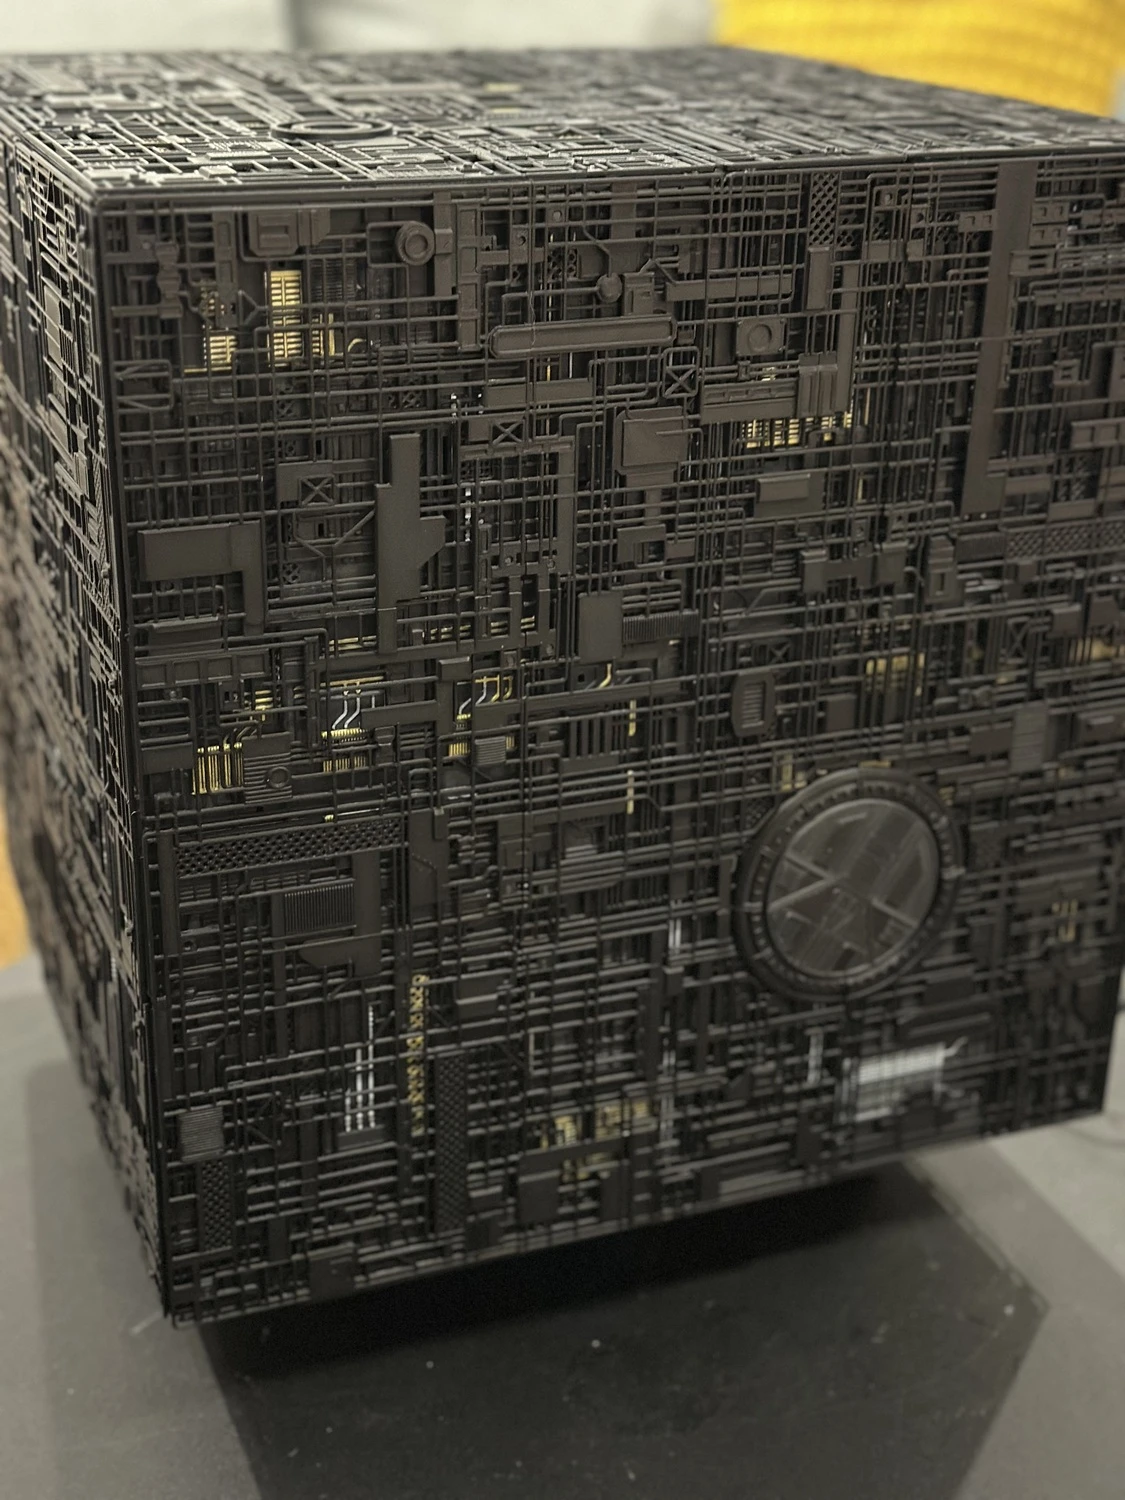
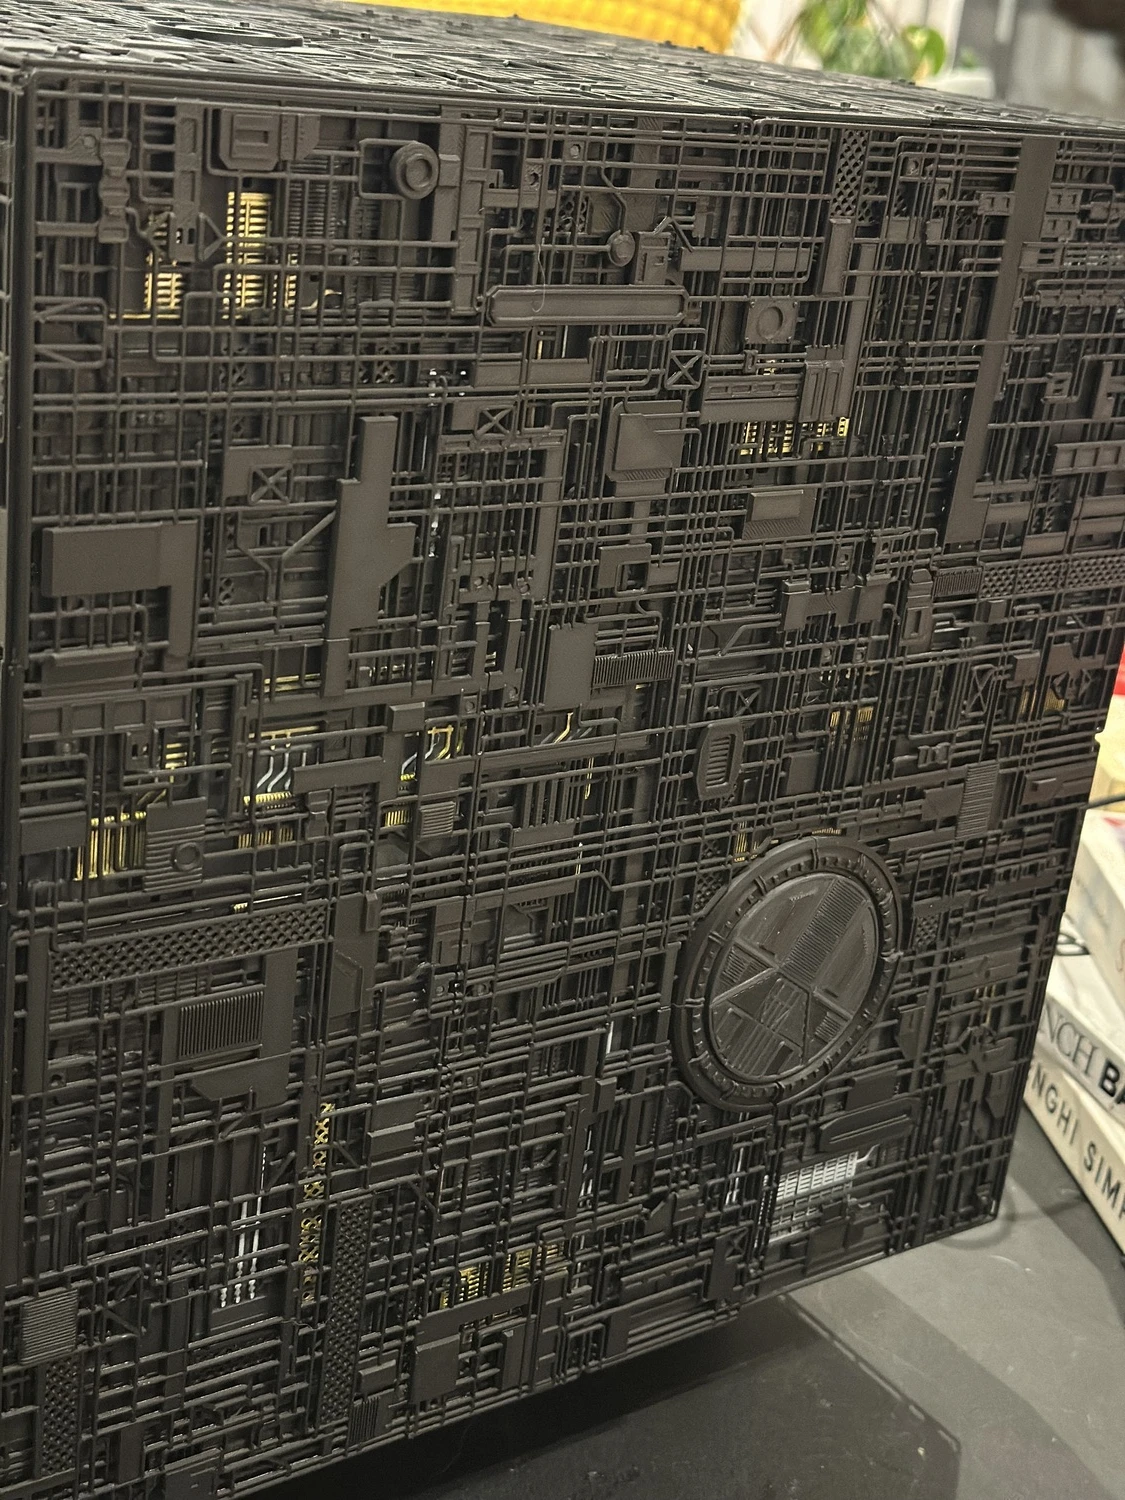
Like Brian, I chose to colour-in various layers to add a bit of interest and I used matt black filament for most of the printing as it adds quite a lot of depth to the finished model.
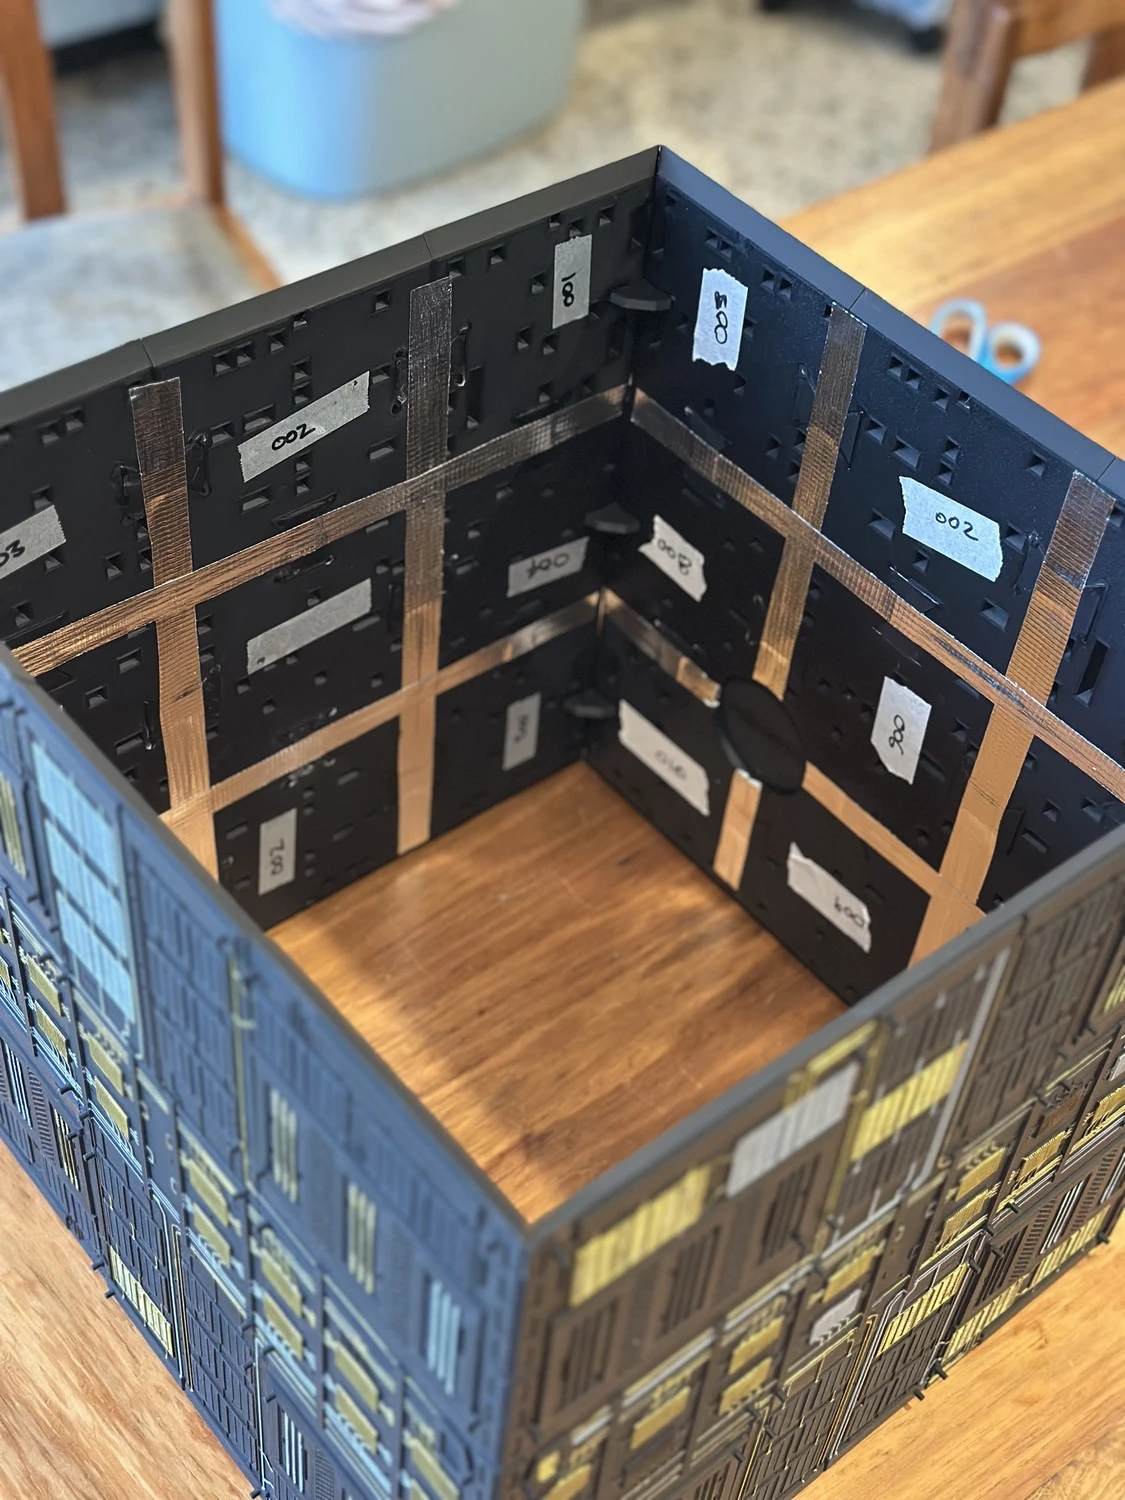
To hide the light cracks you can see in the heading image above, which were particularly prominent along the top where I couldn't install the reflective tape you can see below, I also modelled & printed some small light shields that I attached using strong double-sided tape.
Next, I think I need to print either the Enterprise E, Destiny from Stargate or maybe even Voyager. Need some more shelf space first though!
Note: I didn't end up printing the battery holder, instead I installed an ESP32 running WLED and some small individually addressable pixels to light up the Cube from the inside. A smart power outlet later and it turns on automatically. I can't wait to find somewhere better to display it.
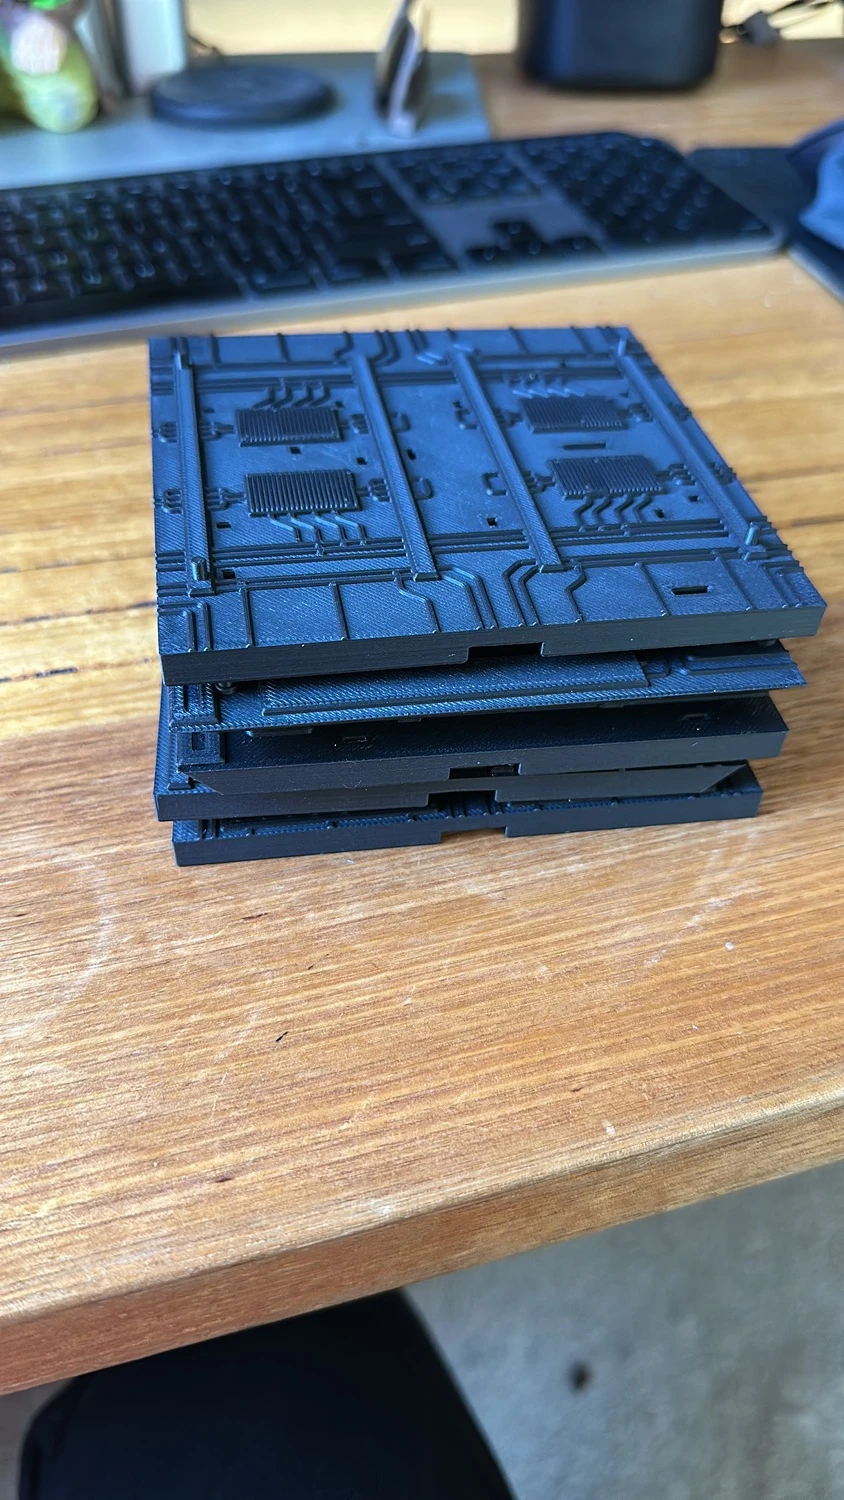
Some WIP shots
Keep reading

I'm Paul. I document what I make, work on and think about here — I hope something here was useful.